
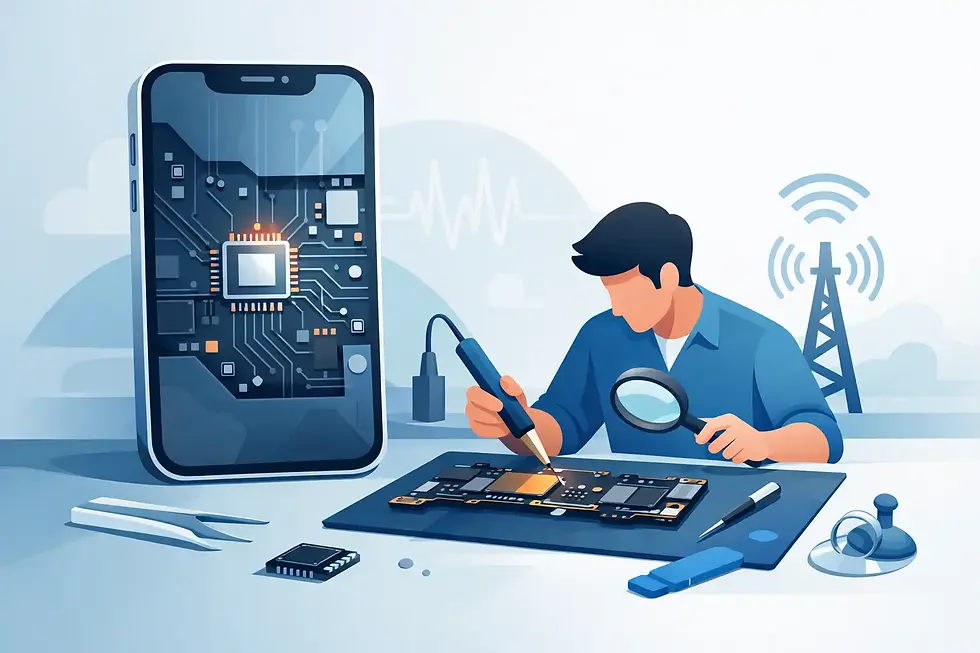
How to Repair iPad Backlight Circuit
- gofixchicago
- May 19
- 6 min read
A bright image is still on the LCD, but the screen looks almost black unless you shine a flashlight across it. That is usually the moment people start searching for how to repair iPad backlight circuit faults. In a repair lab, that symptom narrows the field fast - because a true backlight failure is rarely about the screen itself and often comes down to board-level power delivery, filtering, or damage around the boost circuit.
This is not a parts-swap problem. On most iPads, the backlight system depends on a high-voltage boost circuit that takes battery rail input and steps it up to drive the display backlight lines. If one small component in that path fails, the iPad can boot normally, produce image, and still appear dead to the user. That is why backlight diagnosis requires board knowledge, diode mode testing, a schematic-based approach, and clean microsoldering technique.
What the iPad backlight circuit actually does
The backlight circuit powers the LEDs inside the display assembly. Unlike basic low-voltage rails, this section of the board often generates significantly higher output voltage through a boost converter design. The circuit typically includes a backlight driver IC, an inductor, one or more filter capacitors, a diode, current-sense components, and protective elements tied to the output line.
When the circuit is healthy, the iPad boots, the display initializes, and the backlight illuminates evenly. When it fails, the LCD may still render a faint image with no usable brightness. In some cases, the backlight flashes once and drops out. In others, the iPad shows intermittent dimming after impact, liquid exposure, or a bad screen replacement event.
The important distinction is simple - no image and no backlight are not the same fault. A black screen can be display, touch, image generation, or power. A dark screen with visible image under external light points much more directly to the backlight section.
Common causes when learning how to repair iPad backlight circuit faults
Most failed iPad backlight circuits come from one of a few categories. The first is connector damage caused during screen replacement. A battery left connected during display installation can arc the backlight line and blow a filter, diode, fuse-like component, or the driver IC itself. This is one of the most common causes on iPads that worked before a screen repair attempt.
The second is liquid damage. Even light corrosion around the backlight driver area can create unstable output, leakage to ground, or damaged feedback behavior. The circuit may still produce partial voltage, which makes the failure look inconsistent and easy to misread.
The third is impact damage. Board flex can crack solder joints under the inductor, driver IC, or tiny passive components. This is especially relevant on devices that have already been bent, dropped, or previously repaired.
Then there is the display assembly itself. A shorted panel can pull the backlight line down or overload the circuit. That matters because replacing board components without ruling out a bad screen can cause repeat failure.
Proper diagnosis comes before any soldering
If you want to know how to repair iPad backlight circuit issues correctly, the first step is not replacing components at random. It is proving where the fault lives.
Start by confirming the iPad boots and produces image. Use a bright flashlight at an angle to check for a faint Apple logo, lock screen, or home screen. If image is present, test with a known-good display assembly when possible. This helps separate panel failure from board failure.
Next, inspect the display connector area under magnification. Look for burned pins, torn pads, corrosion, lifted traces, and signs of prior rework. Backlight faults frequently begin at the connector because the line can be shorted during installation if the battery remains connected.
After visual inspection, move to meter-based testing. Check for short to ground on the backlight output rail. Compare diode mode readings to known-good values if available. Measure continuity through filters and coils. If a filter is open, the repair may be straightforward. If the output rail is shorted hard to ground, the problem can be much deeper and may involve a shorted capacitor, failed diode, damaged driver IC, or even a bad display connected to the line.
Voltage injection and thermal imaging can help isolate shorts on the backlight output line, but only when used with control. Too much injection on a sensitive rail can create more damage. This is where lab-grade technique matters.
How to repair iPad backlight circuit problems at board level
Once the fault is identified, the actual repair depends on the failed section. There is no single universal fix across all iPad models.
Open filter or damaged backlight line
If testing shows an open filter or severed path on the backlight output line, the repair may involve replacing the damaged filter or reconstructing the line with a micro-jumper. This sounds simple until the affected pad is partially torn or the trace disappears under surrounding layers. Clean pad prep, stable anchor points, and controlled solder volume matter here.
A crude jumper can restore continuity temporarily but create long-term instability if it is poorly routed or mechanically exposed. On a high-current backlight rail, sloppy repair work tends to return as intermittent dimming or complete repeat failure.
Failed backlight driver IC
If the driver IC is not switching correctly, has suffered an internal short, or took damage from an arc event, replacement is often required. This is a precision microsoldering job. The surrounding area usually includes tightly packed passives and heat-sensitive structures. Excess heat, poor shielding, or weak board support can lift pads and turn a repairable board into a donor board.
After IC replacement, surrounding support components should still be verified. A new driver installed over a damaged feedback network or compromised coil will not produce a stable result.
Shorted capacitor or diode in the boost section
A shorted capacitor on the backlight rail can drag the output down and prevent startup. A failed diode can do the same or create erratic voltage behavior. These faults are often found through resistance measurement, thermal response, and comparative readings.
Replacing the visibly failed part is only half the job. The real question is why it failed. If the original cause was a shorted display or connector arc event, that condition needs to be addressed before power-up.
Connector and pad repair
On some iPads, the backlight fault is not in the boost section at all but at the display connector interface. Burned pins, broken pads, or missing lines can interrupt backlight enable, output, or feedback. Connector replacement and pad reconstruction require microscope work and trace mapping. This is not routine storefront repair.
The trade-offs that matter
Backlight circuit repair is often worth it because it restores the original logic board and avoids replacing an expensive iPad over a relatively isolated fault. But there are trade-offs.
If the board has heavy liquid damage across multiple power domains, the backlight issue may be only one visible symptom. If the display assembly is also damaged, total repair cost can rise quickly. And if a prior shop has already overheated the board, lifted pads, or attempted guesswork replacements, the path to stable restoration gets narrower.
That is why experienced labs do not treat every dim-screen iPad the same. Some cases need a single component replacement. Others need full component-level logic board restoration with line repair, connector work, and post-repair stress testing.
Why DIY backlight repair often goes wrong
The internet makes board repair look deceptively simple. Find the bad part, swap it, power on. Real-world iPad backlight repair is less forgiving.
The components are small, the rail can carry high boost voltage, and the board often has underfill, thin pads, and nearby lines that do not tolerate rework mistakes. A weak hot air profile can leave cold joints. Too much heat can delaminate the board. Poor flux control can hide bridges that only show up under load.
There is also the diagnostic problem. Many failed DIY repairs happen because the original diagnosis was wrong. A technician replaces the driver IC when the real issue was a shorted panel. Or they replace the screen when the board has an open backlight filter. Without a repeatable testing process, parts get wasted and faults get worse.
When professional repair makes more sense
If the iPad contains important data, has already been to another shop, or shows signs of connector burn, corrosion, or board-level damage, professional service is the safer path. A specialist lab can test the display circuit properly, identify whether the fault is upstream or downstream, and perform precision rework without guessing.
That matters most for devices other shops label unrepairable. GOFIX handles this kind of component-level board restoration because backlight faults are rarely about convenience - they are about recovering expensive hardware with industrial accuracy.
A good backlight repair is not just about getting the screen bright again. It is about restoring the rail cleanly, preserving board integrity, and making sure the failure does not come back after a week of use.
If your iPad has image but no usable brightness, treat it like a circuit fault until proven otherwise. The right repair starts with disciplined diagnostics, not assumptions, and that is usually what separates a temporary fix from a real one.


Comments